Wednesday, December 7, 2011

Some Decorating Dilemmas Solved

When we moved in, I wondered how I was going to decorate the dining room and entry. Both spaces were beautiful, but large and daunting. I love decorating, but needed some help getting started, and www.houzz.com was the answer! This is my current favorite website, and has proven even more addictive than pinterest!

DSC_0154

We moved into the house with plenty of stuff for the dining room, but the scale just seemed off. I knew right away a larger rug was needed, and there's only one place to go when one needs a rug...The Dump! It's a really fun store to visit, and their rug selection is MASSIVE and beautiful.
Most everything in the dining room has been passed down to me from someone. It's the 'Where's Waldo' room of family heirlooms! The table, chairs, hutch were all my grandmother's. The silver came from Dan's grandparents and the oil painting on the wall was my great-grandmother's in Vienna, Austria.
I'm also excited about the drapes. When we moved from the old house, we took all our custom drapes with us. We weren't sure we would be able to re-use them, but couldn't bear to leave them behind. I'm so thankful we did, because they look beautiful in the dining room! Originally, they had been on a narrow window and closed completely, but I think they look amazing this way too! I'm so glad we're so cheap sometimes!

DSC_0042

We were starting from scratch in the entry, and this is where houzz.com really came in handy. I scrolled through enough pictures to know we needed a long console table and storage ottomans positioned underneath. After hours online, and visits to no less than 6 furniture stores, we found the perfect table at Pottery Barn. The storage cubes (or extra seating) and lamps are from Target, and the bowl and decorative balls are from Pier 1. The rug is from The Dump, of course! My favorite part of the room? We have the lamps on a timer, and it's always a welcome surprise to walk in the room and see the warm glow from the lamps when evening arrives.
Thursday, December 1, 2011

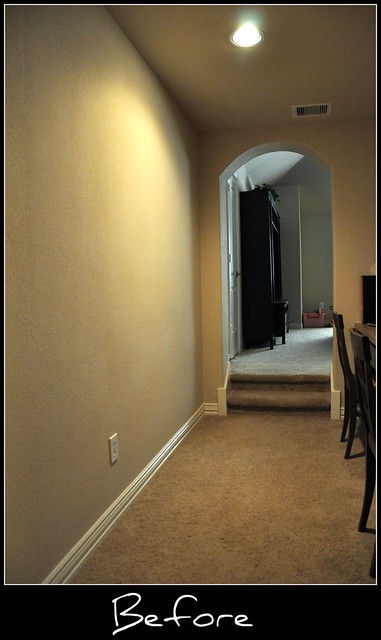
Large Chalkboard in Playroom

before chalkboard

I've always wanted to put a large chalkboard in the kids' playroom. It just so happens the large blank wall in the walkway to the playroom was the perfect spot!

chalkboard after

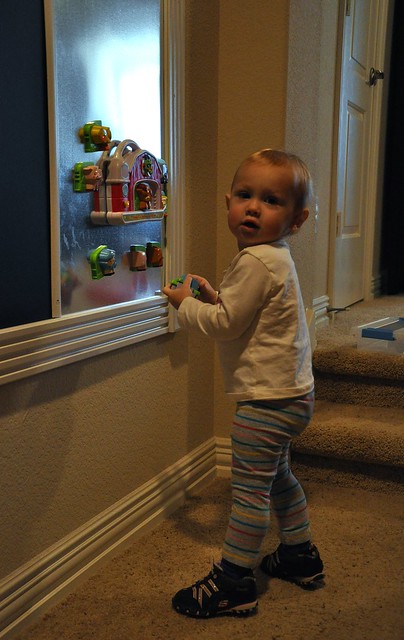
I decided that we should build it ourselves so I could add the magnet board on either side. I love how it turned out!

DSC_0026

It was surprisingly easy, and Walter wanted to help, of course!

DSC_0029

The chalkboard paint needs a few days to 'cure' so we haven't been able to test that out yet, but Sydney is already using the magnet board!

Like I said, this project ended up being easier than I thought. If you're interested, here is a quick tutorial and materials list:

Tile Board - 4 ft x 8 ft sheet
Rust-Oleum Specialty 30 fl oz Black Flat Chalkboard Paint
20 in x 10 ft roll galvenized steel flashing
Ultralite MDF Casing-
-2 pieces of 3-3/8in x 89 in -2 pieces of 3-3/8in x 41 in
Fiberboard Rosette Blocks (3-1/2 in x 3-1/2 in)
MDF moulding
- 2 pieces 1 in x 41-1/4 in

(The MDF moulding, rosettes and casings are already white, but we sprayed them with a light coat of white gloss paint before starting the project.)
1. Scuff the surface of the tile board with fine sandpaper to help chalkboard paint adhere. Clean surface and paint tile board according to directions on chalkboard paint. I ended up doing 3 coats of the chalkboard paint.
2. After paint has dried, measure and cut steel flashing pieces 20 in x 4 ft. Attach these on either end of the chalkboard. We used liquid nails to glue flashing to tile board. (It didn't stick as well as I would have liked, but by the time everything is mounted on the wall, the glue isn't critical.)
3. Next we mounted the board to the wall. We placed it where we wanted it on the wall placed screws into studs on the top and bottom of chalkboard.
4. Once it's secure on wall, add casing and rosettes. Dan did this using a borrowed Porter Cable 18 gauge brad nailer with 1-3/8 in nails. (We definitely NEED one of these!)
5. Attach moulding strips to hide where flashing meets chalkboard. We used a Porter-Cable 18 ga. Finish Crown Stapler with 1/2 in staples.
6. Fill nail holes with white caulk and you're done!

Sunday, November 20, 2011

Laundry Room

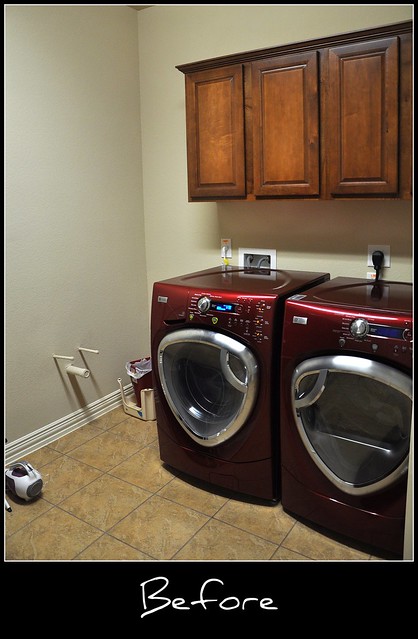
I knew we were going to buy this house the second I saw the laundry room. It was HUGE and although I couldn't let on that I was too excited, it came with a RED front loading washer/dryer set! It wasn't until we saw the house a second time that we noticed the stub out to install a sink. Yep, this was definitely the house for me! The huge potential for awesomeness made the laundry room make-over number one on my priority list, so the first vacation Dan got I put him straight to work.

laundry before

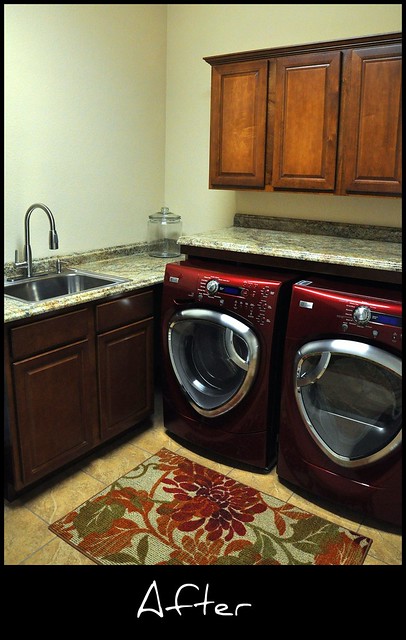
He did an amazing job! After countless hours on pinterest and houzz.com perusing laundry rooms, I knew just what I wanted. Thanks to a handy hubby (and no less than 6 trips to Lowe's and Home Depot) here is the new and improved laundry room!

laundry after

We added a counter top over the washer and dryer to give me a folding area. The sink base and counter tops came from Lowe's. The stainless sink and faucet are from Home Depot. The glass canister and rug are from Target. (I have plans for a row of pictures over the sink cabinet, but I'm just looking for the right ones.)

Thursday, November 3, 2011

The Big Reveal

We closed October 17, and immediately started moving and unpacking. Nearly 3 weeks later, the house is finally ready to be seen! (Well, a few rooms anyway!)

DSC_2215
We spent yesterday working in the yard. When we moved in there were quite a few dead bushes and some crepe myrtles that needed to come out. We planted some burford hollys by the house and left the row of boxwoods in front. We also added two italian cypress trees, two japanese blueberry shrubs and a sago palm. I plan to add some flowers around the sago palm soon!

DSC_1994 (2)
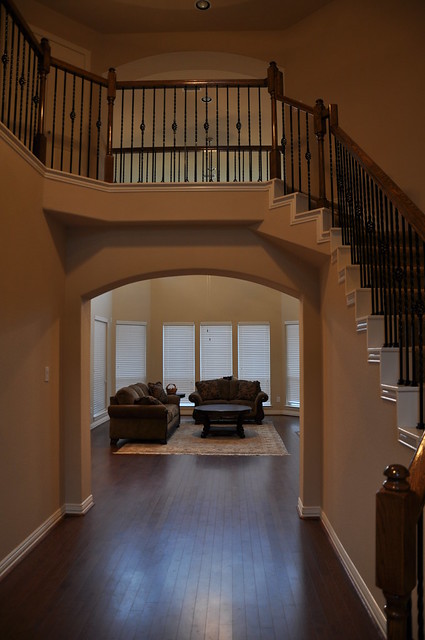
The entry way...one of my favorite spaces. Just wished I knew how to decorate it.

DSC_1986
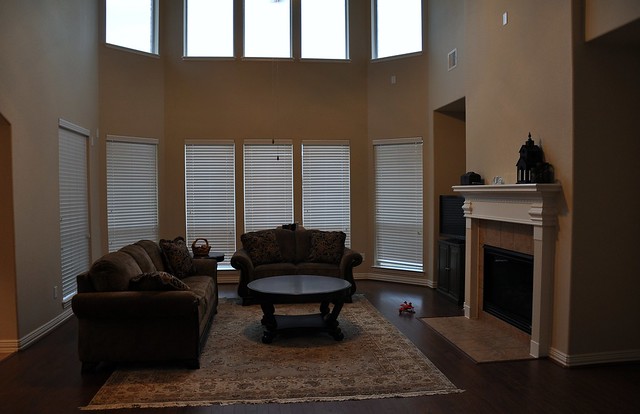
Our new living room furniture looks beautiful in here with the rug. We are planning on adding built-ins on either side of the fireplace.

DSC_2221
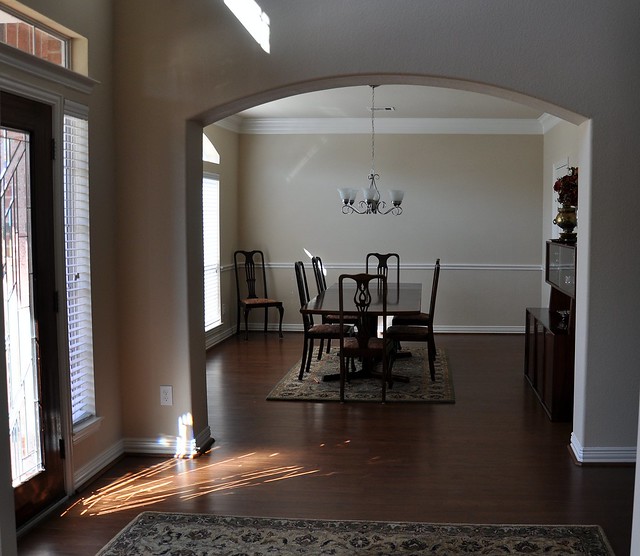
The dining room is furnished, but needs help. It's much larger than our previous dining room, and even with the table fully extended it still needs more (like a larger rug, for sure).

DSC_1883
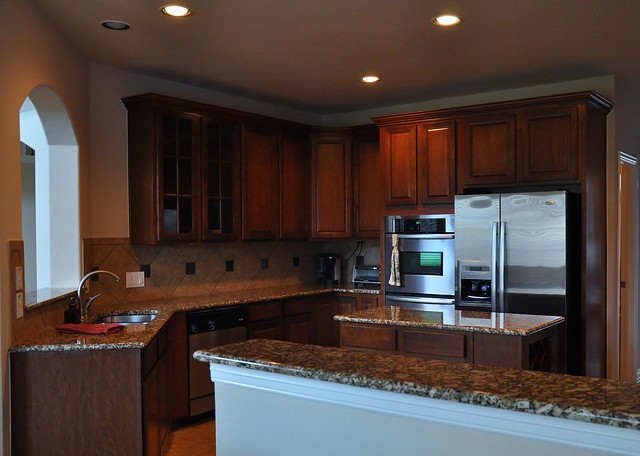
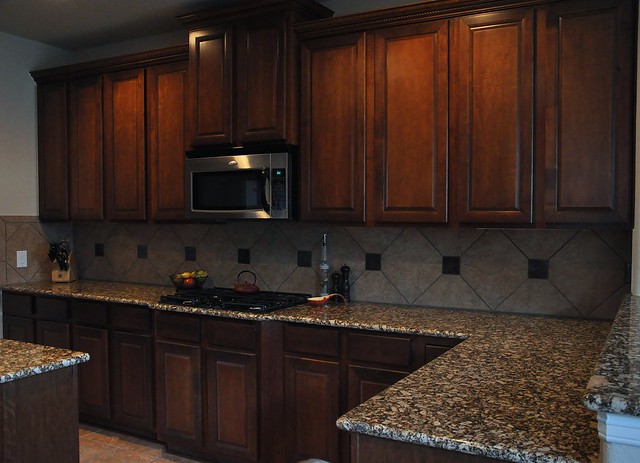
The kitchen! We are loving the wild granite and island!

DSC_1880

Our favorite room happens to be the playroom/TV room upstairs. Hopefully, I'll have some more pictures soon!

Tuesday, October 11, 2011

When One Journey Ends, Another Begins

Less than a week until we close on the new house, and my daydreams are already consumed with project ideas. It's a blank slate begging for a personal touch, and I can't wait to begin. In fact, I've been so busy looking forward that I almost forgot to reflect back on our first journey. We bought our first house in 2003, and spent the last 8 years making it our own. I am so excited for the opportunity to add my personal touch to another home and can't wait to share the journey!