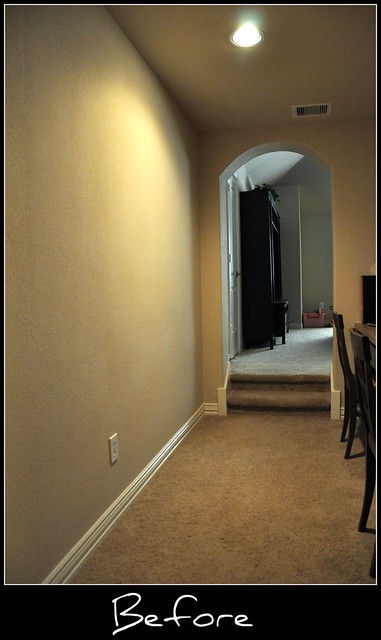
I've always wanted to put a large chalkboard in the kids' playroom. It just so happens the large blank wall in the walkway to the playroom was the perfect spot!

I decided that we should build it ourselves so I could add the magnet board on either side. I love how it turned out!

It was surprisingly easy, and Walter wanted to help, of course!
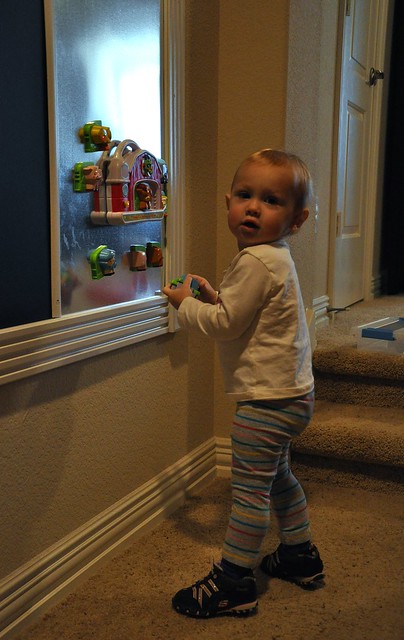
The chalkboard paint needs a few days to 'cure' so we haven't been able to test that out yet, but Sydney is already using the magnet board!
Like I said, this project ended up being easier than I thought. If you're interested, here is a quick tutorial and materials list:
Tile Board - 4 ft x 8 ft sheet
Rust-Oleum Specialty 30 fl oz Black Flat Chalkboard Paint
20 in x 10 ft roll galvenized steel flashing
Ultralite MDF Casing-
-2 pieces of 3-3/8in x 89 in -2 pieces of 3-3/8in x 41 in
Fiberboard Rosette Blocks (3-1/2 in x 3-1/2 in)
MDF moulding
- 2 pieces 1 in x 41-1/4 in
(The MDF moulding, rosettes and casings are already white, but we sprayed them with a light coat of white gloss paint before starting the project.)
1. Scuff the surface of the tile board with fine sandpaper to help chalkboard paint adhere. Clean surface and paint tile board according to directions on chalkboard paint. I ended up doing 3 coats of the chalkboard paint.
2. After paint has dried, measure and cut steel flashing pieces 20 in x 4 ft. Attach these on either end of the chalkboard. We used liquid nails to glue flashing to tile board. (It didn't stick as well as I would have liked, but by the time everything is mounted on the wall, the glue isn't critical.)
3. Next we mounted the board to the wall. We placed it where we wanted it on the wall placed screws into studs on the top and bottom of chalkboard.
4. Once it's secure on wall, add casing and rosettes. Dan did this using a borrowed Porter Cable 18 gauge brad nailer with 1-3/8 in nails. (We definitely NEED one of these!)
5. Attach moulding strips to hide where flashing meets chalkboard. We used a Porter-Cable 18 ga. Finish Crown Stapler with 1/2 in staples.
6. Fill nail holes with white caulk and you're done!
what a great idea corrie! love it! i always wanted to put a magnetic paint on the walls, never knew about chalkboard. :)
ReplyDelete